
As my knowledge of Powershell has increased, so too has the length and complexity of the scripts I create. My current record for example is a 387 line script. How did I keep track of all of the changes in a script of this length?
Not very well I’m afraid. I knew there had to be a better way. I was familiar with the concept of Source Control from the likes of Team Foundation Server but had never looked into it. As I sat down to figure out what my solution would look like, I identified the following requirements:
- The source control system, whatever it is must be integrated with PowerGUI as that is my editor of choice
- It must offer some kind of online component either that I host myself or is hosted by a third party so I can maintain a single repository from both work and home
As you can see, my requirements are rather universal and I’m sure are shared by other aspiring Powershell script writers around the world. So you can imagine my surprise then when upon starting my research into options I was surprised to find remarkably little information on this subject. There were pockets of information but they were scattered at best and others simply did not seem to exist.
That’s why I created this HOWTO. It represents many, many hours of trial and error on my part to come up with a Powershell centric source management system. Not only will this guide identify what you need and explain HOW to install it but it will also delve into WHY it is configured this way. My pain is your gain. So with that out of the way, let’s get started!
Software and Versions Used
| Windows 8 Enterprise Virtual Machine 180 Day Trial (6.2.9200) | http://technet.microsoft.com/en-us/evalcenter/hh699156.aspx |
| Subversion 1.8.8 (TortoiseSVN 1.8.5 Building 25224 – 64 Bit 2014/02/18 20:05:11) | http://sourceforge.net/projects/tortoisesvn/files/1.8.5/Application/TortoiseSVN-1.8.5.25224-x64-svn-1.8.8.msi |
| PowerGUI 3.8.0.129 | http://community-downloads.quest.com/powergui/Release/3.8/PowerGUI.3.8.0.129.msi |
| TamTam SVN SCC v1.4.3.1 [32 bit] (File name is listed as version 1.4.4) |
http://www.daveswebsite.com/software/tamtamsvn/downloads/TamTamSVN_1_4_4.msihttp://www.daveswebsite.com/purchase_home.shtml ($9.99 as of March 2014, free full trial available) |
| Robbie’s ScriptBrowser 1.0.0.1 | http://www.robbievance.net/ScriptBrowser.zip |
| Beanstalk App Online Free Subversion Hosting | http://www.beanstalkapp.com |
Let’s Begin the Setup
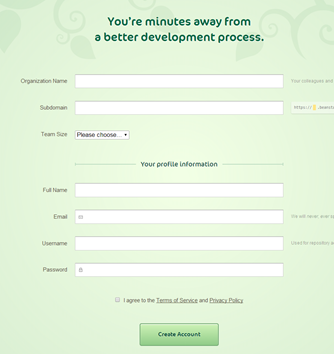
- Go here https://signup.beanstalkapp.com/account/new and create an account
- I checked out many of the free SVN hosting solutions and these guys seemed the best because they had the cleanest interface with no fluff and have an established history
- You’ll end up with a URL that looks like [yourtext].svn.beanstalkapp.com/[yourtext] – Make note of this URL as you’ll use it frequently
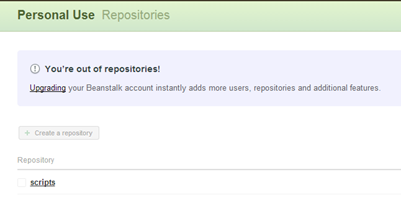
- After this, you’ll need to make and name a repository. Note that in the free version you only get one (but that’s all we will need)
-
Download all of the applications you need from the URLs noted above

- You can next, next finish though this these installers and leave all of the defaults
- Exception: When installing TortoiseSVN, be sure to select the command line client tools as these are required for our automated version control
- Create two folders on the root of your local C: drive where you will perform your development called C:\SVNScripts and C:\RepoBackup
- Right click on C:\SVNScripts and choose Tortoise SVN / Repo-Browser
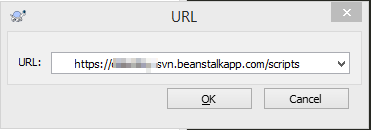
- Enter in the URL of the BeanStalkApp repository you set up. The working directory will default to the one you selected. Leave other settings at default and press OK
- Enter the URL of your repository
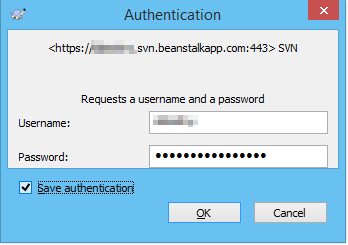
- You’ll be prompted for a user name and password. Use the credentials you used when you signed up. Check Save authentication
- Create 2 folders Development and Release at the root of the tree
- Note: the revision number in these screenshots is rather high as I’ve been working with them for a while. Each change you make in Subversion automatically increments the Revision

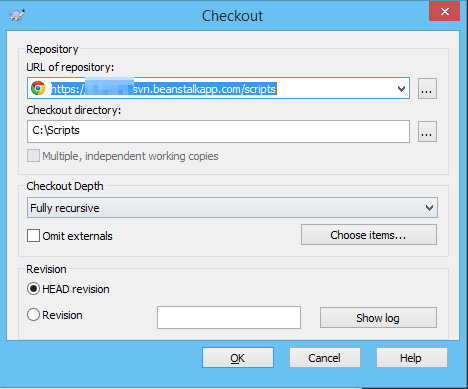
- Right click on your C:\SVNScripts folder and choose SVN Checkout. Leave settings at default and press OK
- What this is doing is linking C:\SVNScripts to http://URL/scripts so that they mirror each other. Remember though, the repository is always the final authority
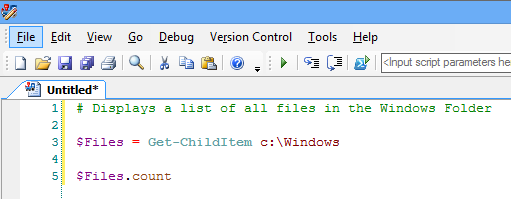
- Launch the PowerGUI Script Editor
- Select Tools / Options / Version Control
- For the Current provider, select the drop down and you should have a new MSSCII called Tam Tam SVN SCC from installing that software
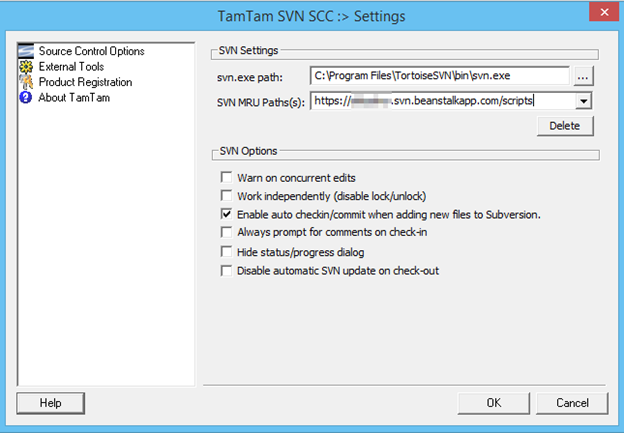
- When you select that you’ll get a configure dialog box appear. Provide the path to svn.exe (installed with the command line tools of TortoiseSVN). The path is c:\Program Files\TortoiseSVN\bin\svn.exe
- Note: If you can’t find svn.exe it’s because you didn’t install the command line tools for Subversion. Re-run the installer and add the command line tools and try again

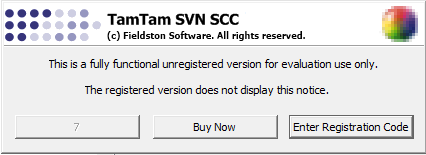
- When you press OK you will be greeted with the registration warning
- When the timer expires, press Use Evaluation. This will happen a lot so if you like the software, you’ll need to buy it
- I looked at free alternatives but the only one I could find was last updated in 2005 and doesn’t work with current versions of Subversion. For $11.53 CDN, I think this is a great deal
- Uncheck Don’t show Check In dialog when checking in items
- One of the paid features of BeanStalk is to force the requirement for Check-In Comments. Since we are a single user, we can enforce that here for free
- Press Advanced
- Update the SVN MRU Path to your new repository URL and press OK
- Notice the new Version Control menu in the tool bar

- In PowerGUI, create a script and open the save dialog. Browse to c:\SVNScripts\Development
- Create a new folder with the name of your script
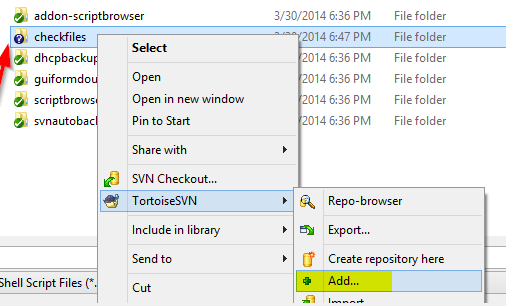
- You’ll note this folder has a question mark for an icon as it is not currently registered with Subversion
- Right click on it and choose Add
-
Press OK to confirm the new folder in the repository

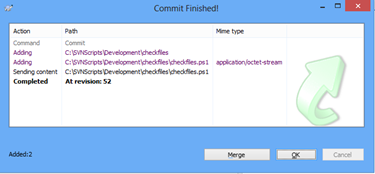
- Right click on the new folder and choose SVN Commit
- This will create the folder for the new script in the repository so PowerGUI can save to it. Press OK
- This is the best way I’ve found thus far to do this. If you skip this step, when you press “Check In” from within PowerGUI, nothing will happen
-
Note: If this is new installation of Windows 8, you may have to change the Powershell execution policy. If so, open a new Powershell console as administrator and type Set-ExecutionPolicy RemoteSigned
- Save the script as c:\SVNScripts\Development\countfiles1.ps1
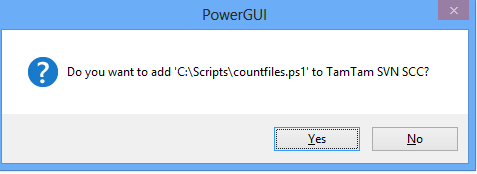
- You will be prompted to add the file to your SVN Repository. Choose Yes
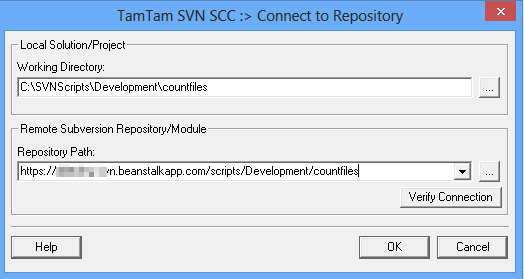
- You will be prompted with what working directory and repository you’d like to use
- Provide the Repository path you noted above, ie: your Beanstalk URL
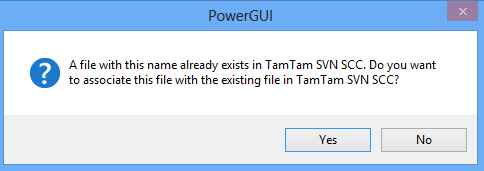
- You will be told that a file with this name already exists. Do you want to associate it? Choose Yes
- For those curious, it appears all this does is edit an XML file in the working directory called pg.xmlscc and changes a property called IsStatusKnown from False to True
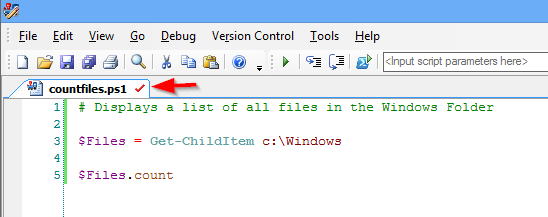
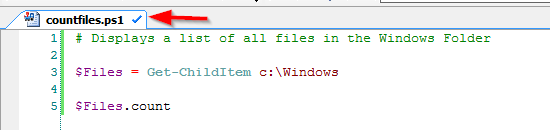
- You’ll note that the tab for the file now has a red checkmark. This indicates that this file is registered with SVN but the current version is not checked in
- To check in the file, choose Version Control / Checkin
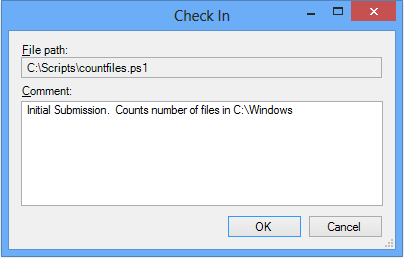
- You will be prompted for a message comment. It’s important to be descriptive here as this is what you’ll use to reference this file in the future. Type in a message and press OK
- Note that the checkmark turns blue indicating that the file has been checked in and the version we are looking at is the most recent
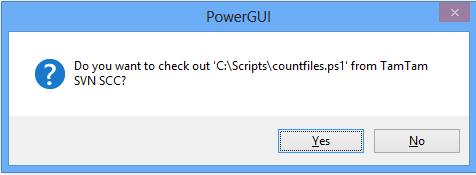
- Try to make a change to the file. You will be asked if you want to check the file out. Choose Yes
- Make some changes to the file
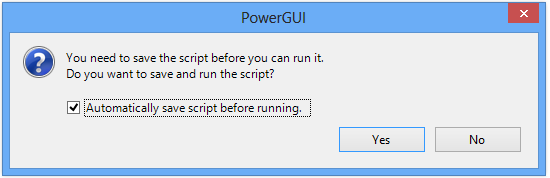
- Note: When trying to run your script, PowerGUI must save the file first. When prompted with the warning below, check Automatically save script before running and press OK
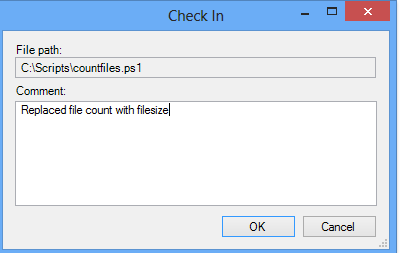
- Notice the check mark is red again since we’ve made changes. Once we’re satisfied with our newer version, choose Version Control / Check in

- Add a comment for these latest changes and press OK
- Now let’s say you want to review the changes between the two revisions. Open Windows Explorer and browse to C:\SVNScripts\Development\countfiles
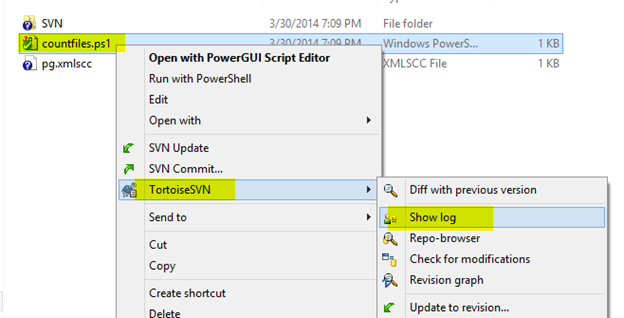
- Right click on the file countfiles.ps1 and choose TortosieSVN / Show Log
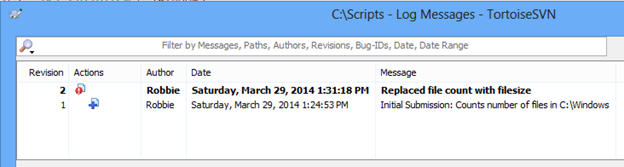
- Here we can see the two versions we have submitted so far
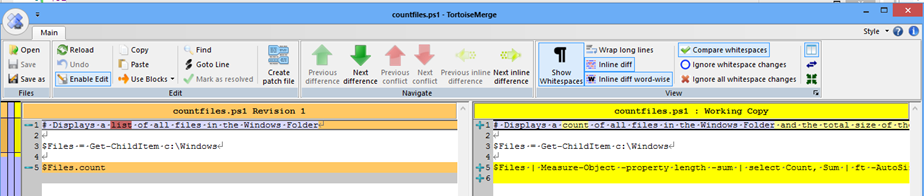
- Right click on the first version and choose Compare with Working Copy
- You can clearly see where the changes were made using this view
-
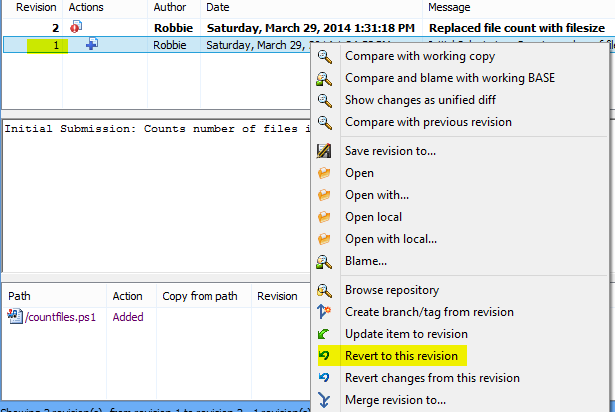
If you’d like to revert to the previous version, from the Show Log screen, right click on the version you’d like to revert to and choose Revert to this revision
- You’ll be asked to confirm. Press Revert
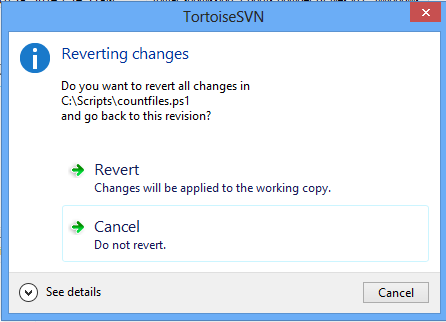
- A dialog box will appear confirming the revert was successful
-
Switch back to PowerGUI and notice a dialog box has appeared saying the file has changed. Press Yes to reload it
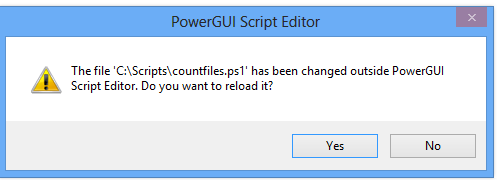
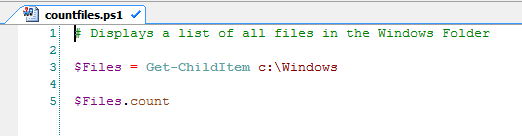
- You are now back to the previous version
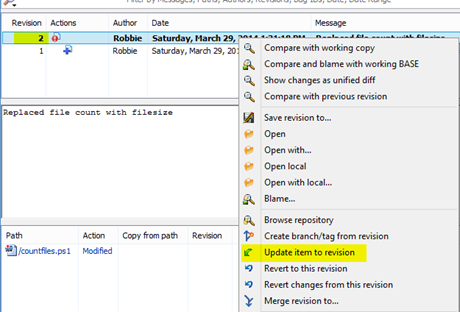
- To go back to the latest version, once again right click on the file in Explorer and open TortiseSVN / Show Log
- Right click on the most recent version and choose Update item to revision
-
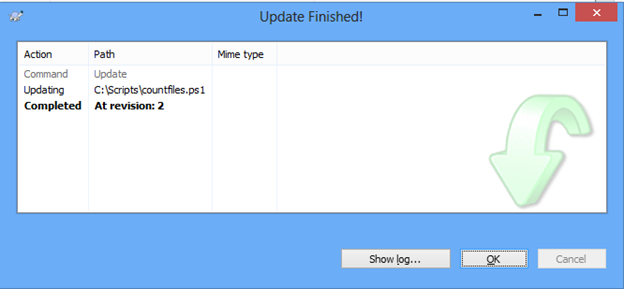
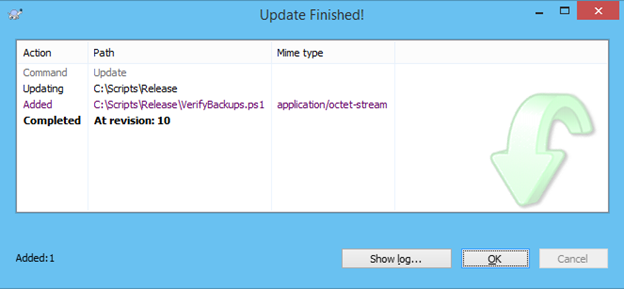
- You’ll be told it was successful. Press OK
- When you switch back to PowerGUI however you will not be prompted that the file has changed and you will still be looking at the old version
- To get the latest version choose Version Control / Get Latest Version
- You won’t yet see the correct code yet though as you have to tell the system to forfit what you have open by choosing Version Control / Undo Checkout
Moving Script for Development to Release
- For a single user / single script environment that I have, I have opted to simply the model used. The default for subversion is “Trunk/Branch/Tag” but that was more involved than I needed
- Instead I will simply add all of my scripts to the “Development” branch. I will put each script its own folder so that for those scripts that do have supporting files, they can be logically grouped together
-
Then when I have a script that goes into “Production”, I will move that version into the Release branch. It’s possible to visualize this by using the “Revision Grab” option from the Tortoise SVN context menu
The following describes how to push a development script into the release branch.
- Create a file in Development and make a series of checks in on it
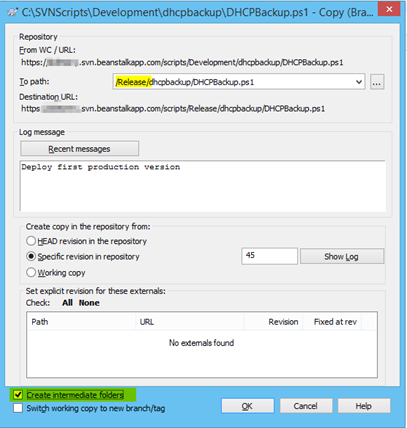
- Once you’re ready to deploy to production, open Explorer, find the file you’d like to promote, right click and choose Tortoise SVN / Branch Tag
-
Change the To path to the Release folder and check Create intermediate folders and press OK
h
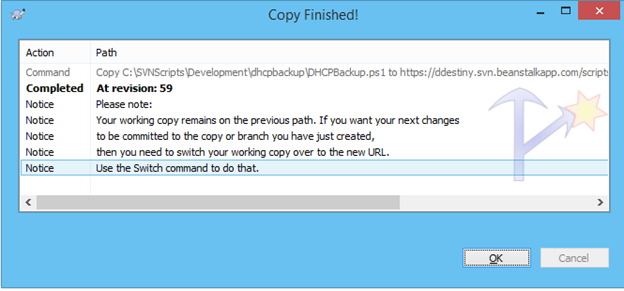
- You will be shown it was successful and warns you that this script’s working path is still in Development which is what we want
- Open the Release folder and notice that it is empty
- Right click in the empty folder and choose SVN Update
- The production version will now appear
- Make more changes
- When ready to commit a version 2 do this:
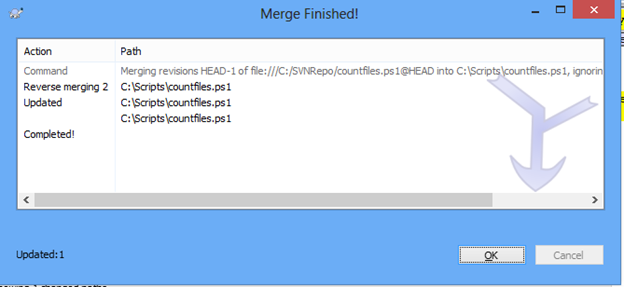
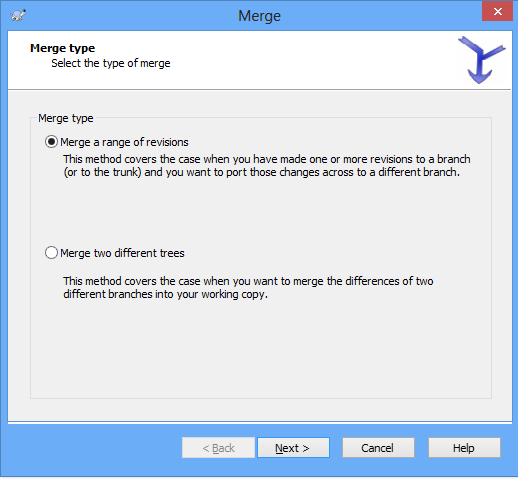
- Right click on the Release version of your script and choose Merge
- Select Merge a range of revisions and press Next
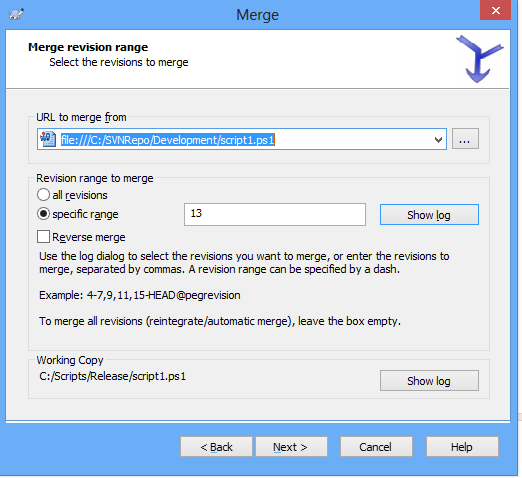
- For the URL to merge from, select the path to the Development version of the file
- For the revision to merge, use Show Log to select the version you want to be the release version – most likely the latest. Press Next
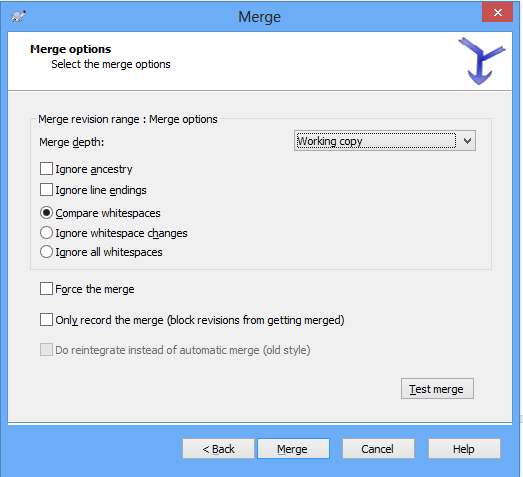
- For the options, leave everything at defaults
- and choose Merge
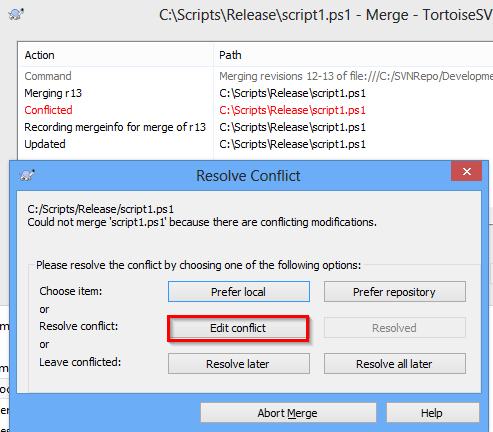
- A dialog will appear regarding a conflict found (which makes sense since Development and Release are different)
- Press Edit conflict
- One the left you will see the newest version from Dev and on the right you will see the release version
- Since we want to move all the changes from Dev to release, right click in the left window and choose use this whole file

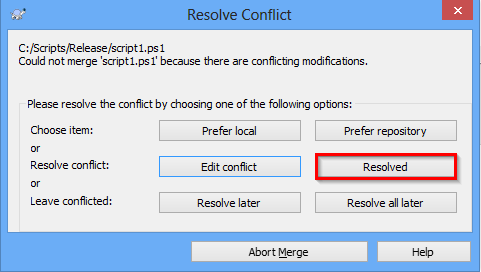
- Press Save in the top left of the conflict editor
- Select Resolved
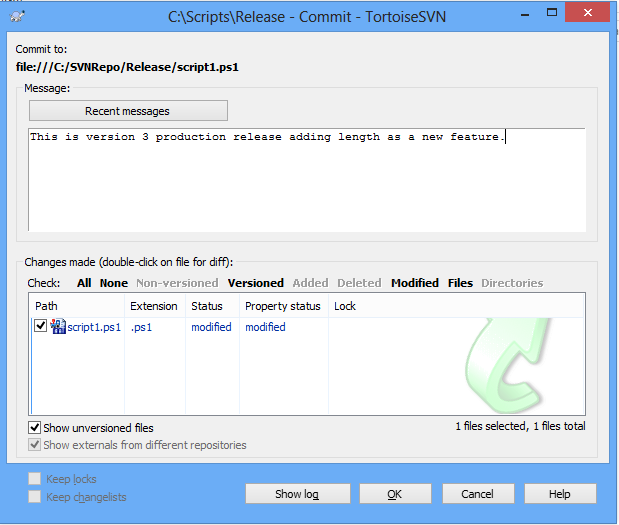
- Right click on your release version of your script and choose SVN Commit
- Give it a descriptive name as this is the release version and press OK
- Once you are satisfied that the submitted script is worth keeping, you need to move it into the Development branch
- Right click on the file in the submission folder and choose Branch
- Update the To Path to /development/[foldername] where foldername is the name of the script – this allows us to have multiple files per script (input files, modules, etc) as required
- Check Create intermediate folders

- Go to your development folder and issue an SVN Update
Script Browser Add On
- One of the problems I have is finding scripts that I’ve written months later. I searched for some means of annotating the files so I could easily search them but I did not find any good answers. I decided to code my own
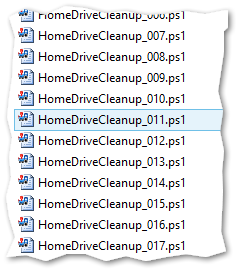
- Taking advantage of the Out-GridView cmdlet in Powershell, I wrote a PowerGUI addon that adds a new menu that provides a graphical view of every script you have. It scans the first line of each script and displays the description.
- It scans the second line of each file and displays tags. You can use this UI as well to open and of these files. Lastly, it has full search and filtering capabilities built in. It’s already helped me considerably so hopefully it can help you too.
- Big thanks to Kirk Munro who wrote the Clear Console addon that this one is heavily based off of!
- Uncompress ScriptBrowser.zip into %AppData%\Quest Software\PowerGUI\Add-ons
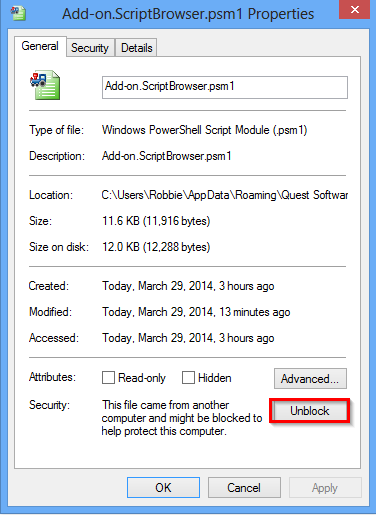
- Windows won’t let you run the by default as they came from a foreign source. Right click on both Add-on.ScriptBrowser.psm1 and Add-on.ScriptBrowser.psd1 and choose Unblock
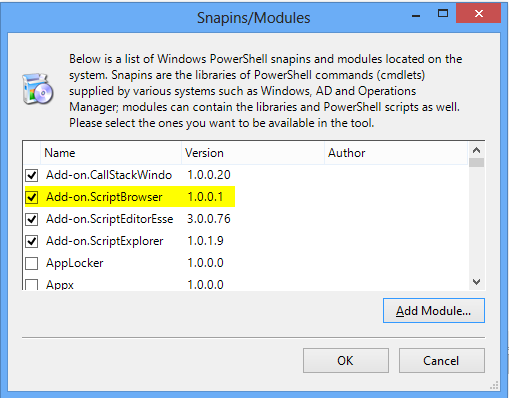
- In PowerGUI go to File / Powershell Libraries
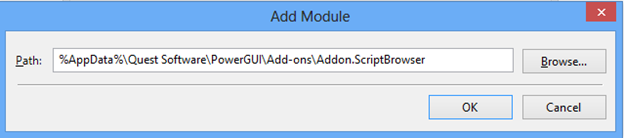
- Press Add Module
- Type in C:\Users\[Username]\AppData\Roaming\Quest Software\PowerGUI\Add-ons\Add-on.ScriptBrowser
- Note: You must use the full path here as this dialog doesn’t resolve the %AppData% environment variable
- You should now see a new module called Add-on.ScriptBrowser and it should be selected
- Now if you look under the Version Control menu, you should have a new option called Script Browser. Select it

- This is a custom script I wrote that all .PS1 scripts in C:\SVNScripts along with the first line comment description from each script, any tags set on the second line of the script along with the Branch the file exists in
- You can use the built in filtering tools to search by key word, description and can double click on columns to sort and filter them
- Selecting a file and pressing OK opens it in PowerGUI

Manual Backups
You may have noticed a second menu option in the Script Browser plugin. One of the concerns with using any Cloud based solution is that your data is at the mercy of someone else.
In order to take some control back, the option there will backup the repository to your local C: drive. This includes all revisions and all of the other functionality you have from the web client.
To take advantage of this however, there are a few quick commands you have to run in advance to prepare the backup Repository on your C: drive. Those are:
C:\> Svnadmin create RepoBackup REM Used svnadmin (which is part of the $PATH) to create a new repository in the root of C: (your current path) called “RepoBackup”
C:\> echo exit 0 >c:\RepoBackup\hooks\pre-revprop-change.bat REM There are hooks that control how this process works in a multi user environment. Since we are only one user, we can disable these by making this batch file that runs/returns “exit 0”
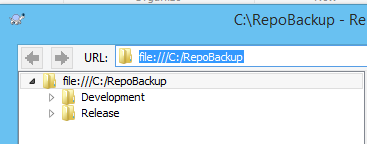
C:\> svnsync init file:///C:/RepoBackup
https://[yournamehere].svn.beanstalkapp.com/[yournamehere] REM This will prepare the repository for use
C:\> svnsync sync file:///C:/RepoBackup
REM This is the command that will actually perform the backup and the only one you need to use in the future
With this in place, you can simply use the Repo Browser on C:\RepoBackup and you will have a full copy of your repository that is 100% independent of the web hosting solution. Ie, if they go out of business tomorrow, you will still have full access to your repository
At this point I would strongly recommend you use your favorite backup product of choice to make backups of the c:\RepoBackup folder so you can have offsite backups of your repository. I personally use Macrium Reflect (http://www.macrium.com)
Lastly note that the PowerGUI command “Backup Repo” also will generate a log file by default in c:\bin\autodbbackup\svnbackup.log. If you’d like to change this, edit $LogPath variable on line 107 of this file and then restart PowerGUI:
“C:\Users\Robbie\AppData\Roaming\Quest Software\PowerGUI\Add-ons\Add-on.ScriptBrowser\Add-on.ScriptBrowser.psm1”
And that’s what I’ve come up with so far. As with anything, this is a work in progress. Some of the things I’d still like to do are:
- Further refine my Script Browser script and publish it to the official PowerGUI addons
- Setup my own Subversion server on my own hosting so I don’t have to rely on a third party
- Further streamline this documentation (it is a first draft after all) and make it even more friendly for new users
- Add all of the many scripts I have scattered everywhere. J
I hope you find this useful. If you have any comments or feedback, I’ve love to hear them. Happy Powershelling everyone!
Below is the code used for the Script Browser. It’s nothing fancy but it serves (in my opinion) a valuable purpose even in its current rough form.
# If there are any errors, stop operation so we don't provide incomplete information
$ErrorActionPreference = "Stop"

# Load this so we can use the Windows GUI Message Box
[System.Reflection.Assembly]::LoadWithPartialName("System.Windows.Forms") | Out-Null

$myScripts = @()
$ScriptsPath = "c:\SVNScripts"
$PowerGUIpath = "C:\Program Files (x86)\PowerGUI\ScriptEditor.exe"

# Update the local Working directory on each execution so newly created scripts appear
&"c:\Program Files\TortoiseSVN\bin\svn.exe" update c:\scripts

# Grab a list of all .ps1 files in the $ScriptsPath
Try
{ $ScriptFiles = Get-ChildItem "$ScriptsPath\*.ps1" -Recurse -ErrorAction Stop | ? { !$_.PSIsContainer } }
Catch
{ [Windows.Forms.MessageBox]::Show("Cannot find scripts repository folder: $ScriptsPath. `n`nTo update the script path, edit the variable `$ScriptsPath in the file: `n`n %AppData%\Quest Software\PowerGUI\Add-ons\`nAdd-on.ScriptBrowser\Add-on.ScriptBrowser.psm1" , "Script Browser", [Windows.Forms.MessageBoxButtons]::OK , [Windows.Forms.MessageBoxIcon]::Error); Break }

ForEach ($ScriptFile in $ScriptFiles)
{
  # Create a new array element for each file containing custom properties for each file
  # Note that index 0 is line 1 and is assumed to be the description while index 1 is line 2 and is assumed to the Tags in the format tag1; tag2; tag3;
    $myScripts += New-Object PSObject -Property @{
		FileName = $ScriptFile.FullName
		Description = (Get-Content $ScriptFile.FullName | select -Index 0)
		Tag = (Get-Content $ScriptFile.FullName | select -index 1)
		Created = (Get-Item $ScriptFile.FullName | select CreationTime).CreationTime
		LastModified = (Get-Item $ScriptFile.FullName | select LastWriteTime).LastWriteTime
		Branch = ($ScriptFile.FullName.Split("\")[2])}
	}
	# use the wonderful Out-Gridview feature to display a GUI of the data found
	$SelectedFile = $myScripts | select FileName, Description, Tag, Created, LastModified, Branch | Out-GridView -PassThru -Title "Script Browser"

	if(!(Test-Path($PowerGUIPath)))
	{ [Windows.Forms.MessageBox]::Show("Cannot find $PowerGUIPath" , "Script Browser", [Windows.Forms.MessageBoxButtons]::OK , [Windows.Forms.MessageBoxIcon]::Error) | Out-Null; Break }

	if ($SelectedFile -ne $null) { &$PowerGUIPath $SelectedFile.FileName }

### *** CUSTOM SCRIPT ENDS HERE *** ###

}

	$se.Commands.Add($ScriptBrowserCommand)
}

#endregion

#region Create the Backup Rep Console command.

if (-not ($BackupRepoCommand = $se.Commands['VersionControlCommand.BackupRepo'])) {
	$BackupRepoCommand = New-Object -TypeName Quest.PowerGUI.SDK.ItemCommand -ArgumentList 'VersionControlCommand','BackupRepo'
	$BackupRepoCommand.Text = '&Backup Repo'
	$BackupRepoCommand.Image = $imageLibrary['BackupRepoImage16']
	$BackupRepoCommand.AddShortcut('Ctrl+M')
	$BackupRepoCommand.ScriptBlock = {

### *** CUSTOM SCRIPT STARTS HERE *** ###
$Logpath = "c:\Bin\autodbbackup\svnbackup.log"

#  Grab the stats before and after the sync command as if it works, the command doesn't give any output.  Useful for the log we generate
$ResultsBefore = &svnsync info file:///C:/RepoBackup
$Output = &svnsync sync file:///C:/RepoBackup
$ResultsAfter = &svnsync info file:///C:/RepoBackup

$DateNow = Get-Date

if(!($Output)) { $Output = "No Output" }
$LogEntry = "$DateNow | " + $ResultsBefore[2] + "| " + $ResultsAfter[2] + " | " + $Output

Add-Content $Logpath $LogEntry
1 pings
[…] HOWTO: Implement Source Version Control for Powershell Scripts with PowerGUI: http://pleasework.robbievance.net/howto-implement-source-version-control-for-powershell-scripts-with… […]